
REVIEW · PRIVATE
Amsterdam Photography Masterclass – Private Photography Lesson
Three hours in Amsterdam, camera-ready. This private photo lesson turns classic streets and waterways into real practice, led by a professional who teaches you what to change and why.
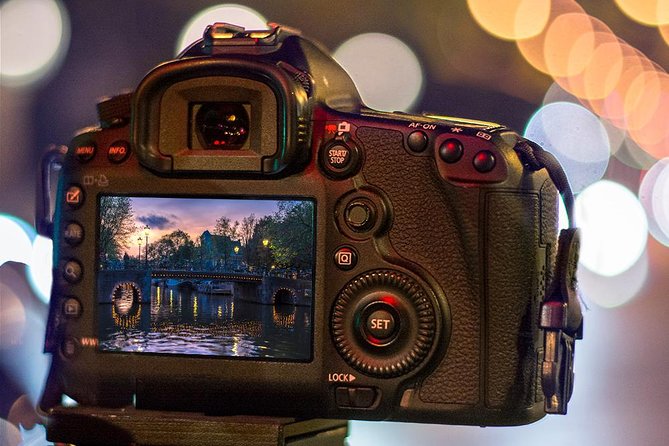
I especially like the hands-on coaching and the chance to shoot daytime or evening light. One thing to consider: you bring your own DSLR, and the class is timed tight, so you should come ready to shoot quickly.
You’ll start at Leidsekade 97 and work your way through several high-photography spots, each with a short shooting window. The result is a clear, practical mini-course across composition, camera settings, and how to frame Amsterdam on the go. The only real drawback is weather, because even though the tour runs in all conditions, you still need to dress for wind and rain and stay comfortable while walking.
Key highlights you’ll care about
- A private class for up to 4 people, so your guide can adjust your settings and pace
- Daytime and evening options, including night photography tips and practical camera adjustments
- Pro photographer teaching basics, not just pointing at landmarks
- Plenty of short shooting stops (about 20 minutes each) so you practice repeatedly
- Free admission for the scheduled shoot stops, so you spend more time photographing
- Tripod optional on request, plus DSLR required (no camera rental included)
Other private routes shaped around your group
Why this Amsterdam Photography Masterclass feels useful fast
If you’ve ever taken photos in Amsterdam and thought, My settings should work better, this class is built for you. The idea is simple: you walk to photogenic places and you get guided instruction in the middle of the action, not in a classroom.
I like that it is truly private. With a maximum of 4 people per booking, you are less likely to get generic advice. Instead, you can get help that matches what your camera is doing, what you want to capture, and what you are struggling with right now.
The other reason this works is the structure. You get a sequence of focused stops, each designed for a specific kind of shot. That makes it easier to learn in a straight line: frame, adjust, shoot, then repeat with a new subject.
One more practical win: the tour offers daytime or evening options. Evening sessions are where you get the kind of night-focused thinking that most people never figure out on their own.
Price and time: what you’re really paying for
At $204.24 per person for about 3 hours, you are paying for more than the walk. The big value is that you get both a local guide and a professional photographer guide, plus a private format.
The short list of included essentials matters:
- You get the professional photographer instruction
- You get a local guide to put you at the right spots
- You get a private tour, not an all-day group shuffle
Also, each scheduled stop notes free admission. That doesn’t mean you skip the entire city, but it does mean you are not funneling time into ticket lines just to start shooting.
Your camera situation affects value too. The tour asks you to bring your own DSLR camera. If you are already comfortable with it, you can spend the entire session applying changes. If you are new, you may still get great results, but you will want to arrive knowing the basics of how your camera turns on, focuses, and lets you adjust exposure.
Where you start, how the class keeps moving
The meeting point is Leidsekade 97, 1017 PN Amsterdam. The tour ends back at the meeting point. It is near public transportation, which is handy because Amsterdam days can start with trains, bikes, and walking all tangled together.
The itinerary pacing is practical. Each stop has about 20 minutes, so you get time to try a shot, get feedback, then try again. It’s not a slow gallery tour where you stand and wait. It’s a working session.
And yes, it runs in all weather conditions. You should dress for rain and wind, even if you are choosing a sunny forecast day. Even a pro can only teach so much if you are fighting cold hands and a camera you cannot comfortably hold.
More ways to bring home better Amsterdam photographs
- Amsterdam: Private Photoshoot for Couple, Family, or Solo★ 4.9 · 251 reviews
- Amsterdam Canal, Tulip, Windmill Photoshoot | Custom Request★ 5.0 · 147 reviews
- Amsterdam: Foam Photography Museum Admission Ticket★ 4.2 · 141 reviews
- Vacation Photoshoot & Tour in Amsterdam★ 5.0 · 36 reviews
Daytime or evening: pick your light, pick your learning
Amsterdam at night can be the fastest way to see why your daytime settings do not automatically translate. The evening version of this tour is the one you want if you already know your camera can do night shots but your results look too dark, too blurry, or too messy.
I like that the instruction is hands-on. In one example, Renzo helped a student learn how to shoot night photos successfully, and that kind of targeted coaching is exactly what you want when you are stuck with low light. The guidance was also described as quick and effective, with the student shooting beautiful pictures within a short time.
Daytime tours are great if you want to focus on:
- composition and framing
- how to turn streets and canals into clean images
- capturing details without rushing
Evening tours are better if you want to focus on:
- exposure decisions when it gets dark
- how to keep shots sharp
- how to work with low light while still moving around the city
The shoot list, stop by stop, and what you’ll practice
This class is built around a sequence of famous-feeling places, but the learning happens through what you shoot at each one. You’re not just collecting souvenirs. You’re training your eye and your camera settings in short bursts.
Stop 1: Amsterdams Lieverdje statue
You’ll shoot the statue at Amsterdams Lieverdje, with about 20 minutes to work. This kind of subject is useful because it forces you to think about scale and placement. A small subject can get lost fast in a busy street scene, so you practice how to simplify your frame and guide the viewer’s attention.
Tip to use here: try a few angles, then choose one that keeps your background from turning into visual noise. If your photos look cluttered, this is the stop where you learn how to clean them up.
Stop 2: Voetboogstraat and the Beijbhof de Voetboogsteeg area
Next up is Voetboogstraat, where you will shoot the Beijbhof de Voetboogsteeg. This is a great place to practice lines and texture. Narrow streets and passage-style spots often reward lower viewpoints and careful framing.
A drawback: you may feel like you want to photograph everything. Stay focused on what your guide asks you to practice, like framing the passage or using leading lines to draw the eye forward.
Stop 3: Leidsegracht bridges
Then you shift to Leidsegracht, focusing on the bridges along Leidsegracht. Bridges are gold for photography practice because they give you structure. You can experiment with symmetry, spacing, and how much of the canal you include.
If you are doing an evening tour, bridges are also where you can see how light affects exposure, especially if reflections play a role. If you are doing daytime, it’s often easier to learn composition first, then adjust settings afterward.
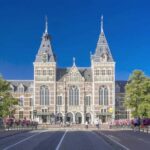
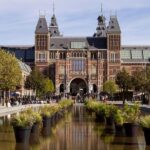
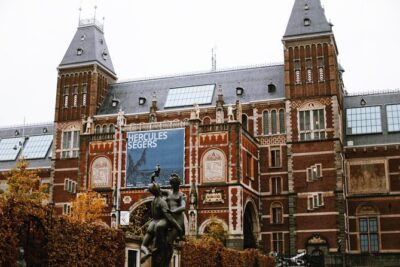
Stop 4: Rijksmuseum and grounds
You’ll shoot the Rijksmuseum and grounds next. Even without a deep museum detour, the outside area gives you strong geometry to work with. This stop is ideal for learning how to get cleaner edges, avoid awkward angles, and keep your subject from looking warped by perspective.
If your photos often look tilted or stretched, this is a good checkpoint. Use the time to test how you stand, not just what you set on the camera.
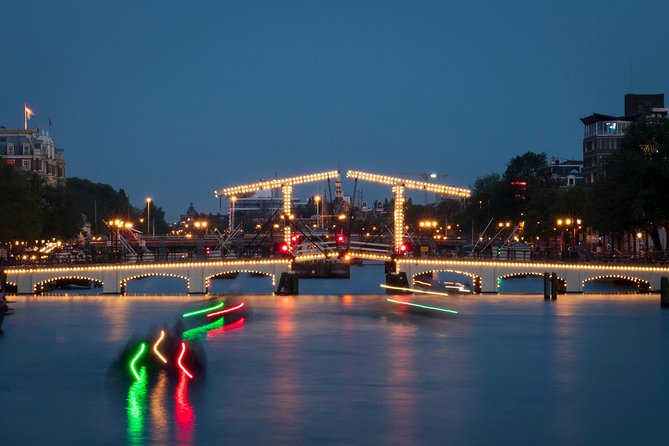
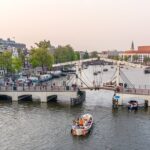
Stop 5: Magere Brug and the Amstel
At Magere Brug, you’ll shoot the Amstel and Magere Brug. Water changes everything. It can add atmosphere, but it can also trick your focus and exposure.
What you’ll practice here is getting a shot that feels balanced: the bridge as the anchor, and the water as the supporting texture. If your images keep coming out too bright or too dark, your guide should help you correct that quickly.
Stop 6: Nieuwe Kerk
Next is Nieuwe Kerk, with another 20 minutes for shooting. A church facade area is a classic test for how you handle vertical lines. You’ll likely experiment with different positions to keep the building from looking like it is leaning.
This stop is also helpful for practicing detail shots versus wide frames. If you feel torn between close-ups and bigger compositions, your guide can help you choose based on the effect you want.
Stop 7: Blauwbrug
You’ll head to Blauwbrug and shoot it during a short slot. This is another bridge stop, which is good for repetition. When you photograph a similar subject twice, you learn what changes your outcome: distance, angle, time of day, and how you include surrounding elements.
Short sessions are actually an advantage here, because they prevent you from overthinking. You try, adjust, and move on.
Stop 8: Nieuwmarkt
At Nieuwmarkt, you’ll shoot that area in another 20 minutes. This kind of stop helps you practice how to photograph a city street without turning it into one flat scene.
If you struggle to separate your subject from the background, use this stop to practice simple framing rules: keep your main subject clear and let everything else support it, not compete with it.
Stop 9: Huis Bartolotti (Museumhuis Bartolotti)
Your final stop is Huis Bartolotti (also shown as Museumhuis Bartolotti). This last location is where you get to apply everything you practiced earlier. If earlier shots helped you learn how to set up a clean frame, this stop is your chance to polish your final keeper.
A smart approach: before you shoot at the last stop, take a quick look at your last few frames on your camera. If you see a consistent problem, you can correct it before the session ends.
Camera basics that get you better photos on the street
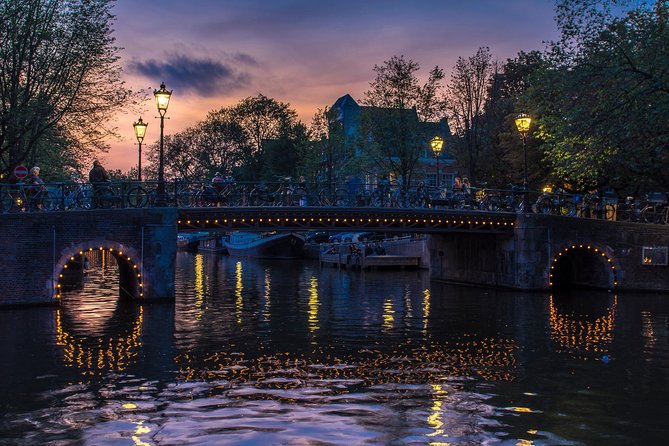
The tour is designed to teach the basics of photography from a professional photographer. In practice, that usually means you learn to control what matters instead of guessing.
From the style of instruction described in past sessions, you can expect practical pointers tied directly to what you are shooting, including help with camera settings. One student specifically credited the guide with quickly changing how they shot night photos, which is a good sign that the teaching focuses on results, not theory.
Even if you already know your camera menus, street photography punishes confusion. You do not have time to hunt for settings. So your best move is to arrive with a DSLR you know well enough to change key controls quickly.
If you need support with stabilization, the tour notes a tripod is available upon request. That can matter most for lower light, slow shutter choices, or whenever your shots are coming out blurry.
What makes the guides memorable
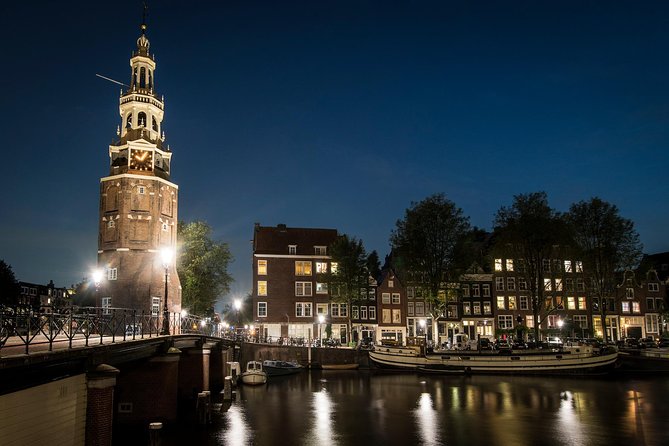
The instruction quality is the real differentiator here. People describe guides as polite, patient, and focused on teaching. Renzo stood out for night photography support, while William was described as tailoring the tour to the type of pictures someone wanted and giving excellent pointers for camera settings.
That tailoring is important. If you want portraits, bridges, architecture, or night shots, a one-size-fits-all lesson can be frustrating. Here, the teaching is set up to match your goals.
Also, the pacing is something you feel. Guides take time to teach, then keep the momentum so you still leave with a set of usable photos, not just lessons.
Who should book this private lesson
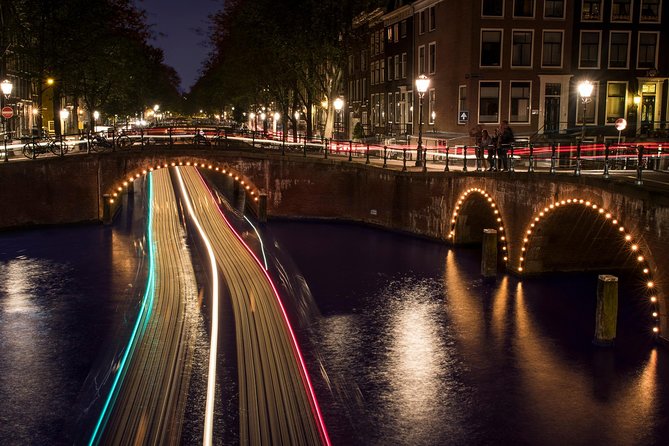
This tour is a strong fit if:
- you have a DSLR and want to use it better right away
- you want to photograph Amsterdam with a guide rather than wandering randomly
- you like learning outdoors, in short practice sessions
- you want help with night photography if you pick the evening tour
It’s also a good choice for people who do not want to babysit a group plan. With up to 4 people, you get interaction without the pressure of a large crowd tour.
If you only have a phone camera, this is not your best match, because the tour asks you to bring a DSLR and notes camera is not included.
A couple of drawbacks to plan around
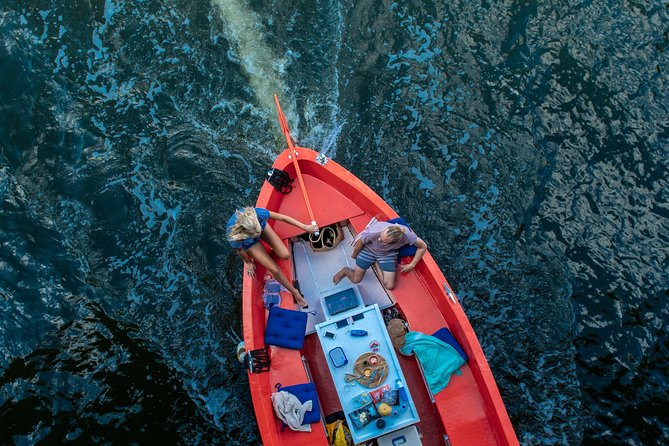
This is a walking-based photo lesson, and it is paced in about 3 hours total. You should be ready for movement between stops, plus time for camera checks and trying different frames.
Second, it requires your own DSLR. If you travel light and planned to rent gear, you will need to rethink that.
Third, tripod time is not automatic. It is available upon request, so if you want one, you should ask ahead or bring a plan to work without it.
Should you book it?
If you want a structured way to improve your photography in Amsterdam, I think this is a smart booking. You get a pro photographer guide, a private format for up to 4 people, and repeated shooting practice at real locations like Leidsegracht bridges, Magere Brug, and the Rijksmuseum area, with an evening option for night shots.
Skip it only if you do not have a DSLR, or if you are looking for a slow sightseeing day with no camera emphasis. This is a photo class first, and the best results come when you show up ready to shoot.
FAQ
How much does the Amsterdam Photography Masterclass cost?
It costs $204.24 per person.
How long is the class?
The duration is about 3 hours.
Is this a private tour?
Yes. It is a private tour/activity, with a maximum of 4 people per booking.
What language is the tour offered in?
The tour is offered in English.
Is admission included for the stops?
The scheduled shoot stops list admission ticket free.
Do I need to bring a camera?
Yes. You should bring your own DSLR camera. A tripod is available upon request, but a camera is not included.
Where does the tour start?
The start meeting point is Leidsekade 97, 1017 PN Amsterdam, Netherlands.
Does the tour run in bad weather?
Yes. It operates in all weather conditions, so dress appropriately.
Is there an evening option?
Yes. You can choose between daytime and evening tours.
What is the cancellation policy?
Free cancellation is available up to 24 hours in advance for a full refund.
Bring Home Better Amsterdam Photographs
Amsterdam for Just Your Group

More Tour Reviews in Amsterdam
Newly reviewed around Amsterdam
Private, side by side.
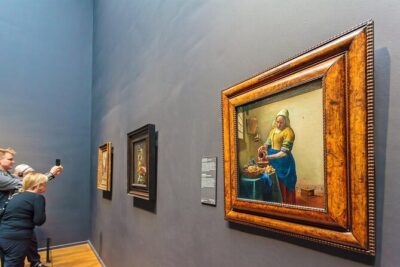 ★ 4.5Rijksmuseum Amsterdam Small-Group Tour with Private UpgradeFrom $901,547 reviews
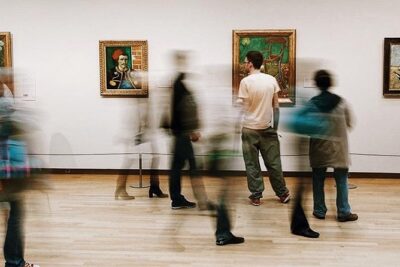 ★ 5.0Van Gogh Museum Tour Reserved Entry Semi PrivateFrom $1731,437 reviews
 ★ 5.0Private Amsterdam Red Light District and Coffee Shop TourFrom $41763 reviews
 ★ 5.0Anne Frank and Jewish Quarter Amsterdam Private Walking TourFrom $157684 reviews
 ★ 4.5Amsterdam Airport & Non-Airport Private Transfer to City CenterFrom $60521 reviews
 ★ 5.0Private Excursion to Zaanse Schans, Edam, Volendam and MarkenFrom $840420 reviews
 ★ 5.0Van Gogh & Rijksmuseum w/ Reserved Entry Semi-Private 8ppl MaxFrom $288419 reviews
 ★ 5.0Anne Frank and the Jewish History of Amsterdam Private TourFrom $95307 reviews
More ways to plan this visit